
A step by step guide to record MIDI performance data.
1. Plug in your external MIDI equipment into the input of your MIDI interface or USB connector on your computer.
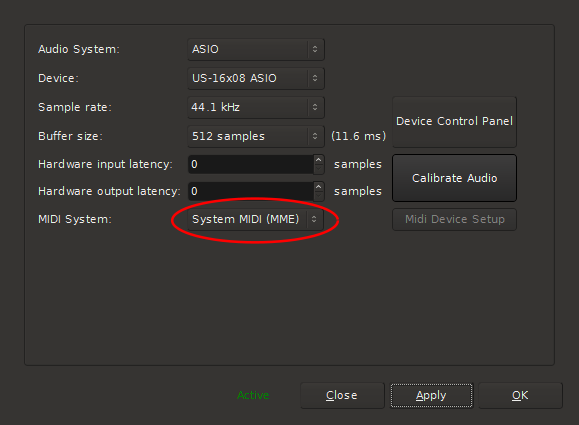
2. During session set up be sure system MIDI is enabled (CoreMIDI for Mac and MME for Windows).
3. Add a MIDI track(s) to your session. Click here for more on adding tracks. By default “Reasonable Synth” plug-in will be inserted into the redirect. You can select a different plug-in at this point or it can be changed after the track has been created. More on Plug-ins here

4. Route the system MIDI to the track input. In the image below the MIDI device happens to be called “Launchkey 25 capture”. You should look for the name of your device here.
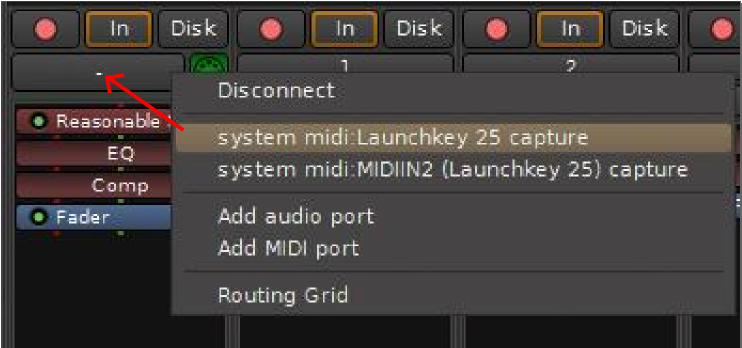
5. Enable MIDI input. The default is on as shown in the image below. Click on the green MIDI connector to disable if you don’t want to hear the MIDI input.

6. Be sure to set the channel strip to monitor input.

7. Record arm the MIDI track

8. Record arm the master record button in the Edit window, roll the transport and record your performance.

9. Once a performance is recorded (or perhaps you have imported MIDI data to the track) you can send the audio output to a track to be recorded (bounced). Click the output connector ( find the Output connector by switching the switcher at the top of the mixer strip) and route the MIDI output. In this image it has been routed to a stereo audio track (audio 7). Click here for more on recording.
Additionally you can route MIDI performance data to outboard equipment via your MIDI interface (many audio interfaces have a MIDI interface built-in).
You can also visit “Window->MIDI Connections” to see a grid of your track outputs (on one side) and hardware outputs (typically on the bottom right tab)
Post your comment on this topic.