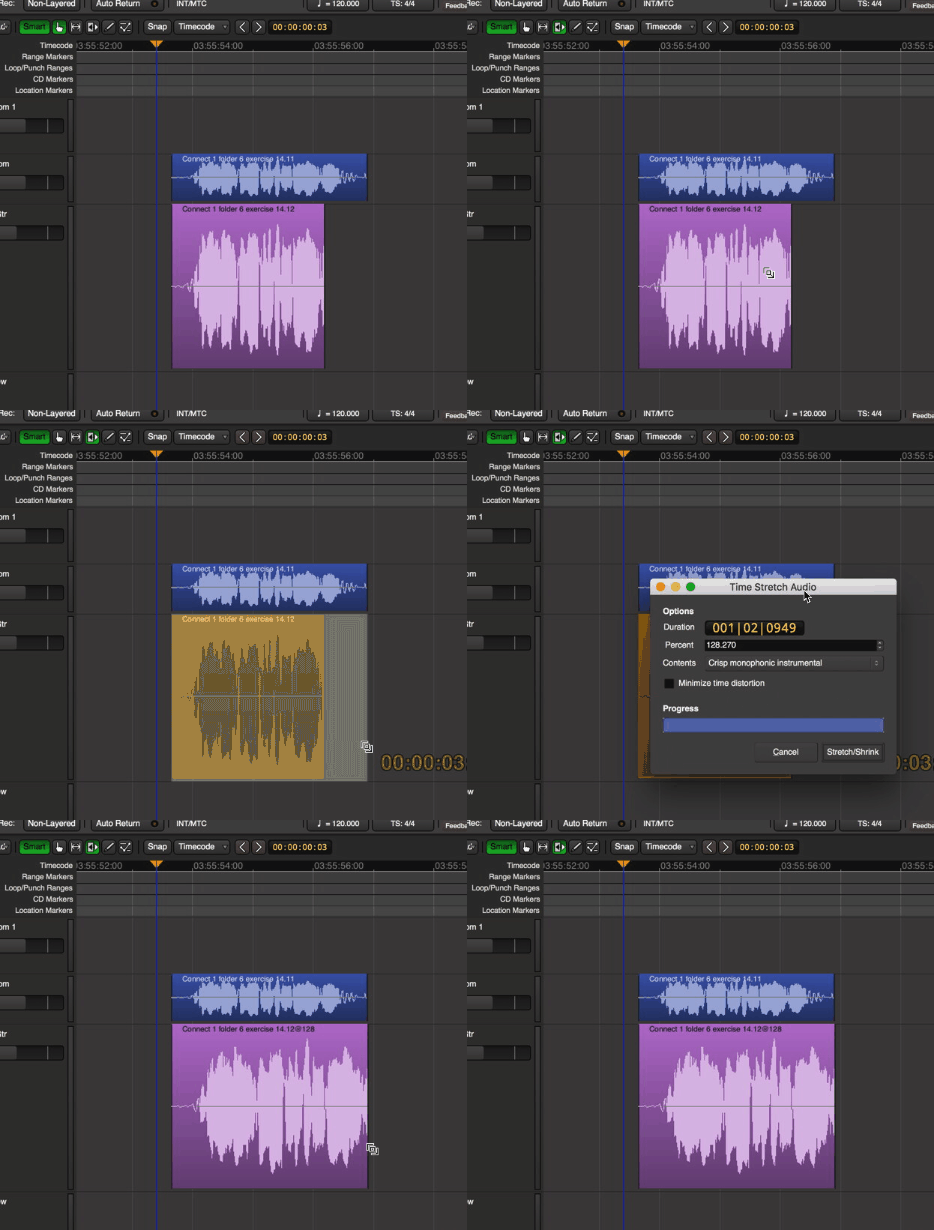
Click above for video instructions.
Edit Modes
The edit mode selector is to the far left, directly underneath the transport controls. There are 3 different editing modes when moving regions:
circled in red in the image above, you may select:
- Slide is the normal mode that allows regions to be moved without any limitations.
- Lock allows trimming, fades and track shuffling, but does not allow the region to be moved in time.
- In Ripple mode, changes to a region are “rippled” to other regions on that track in the future. For example, deleting a Range or Region will move the regions after (to the right of) it, to the left. Thereby closing the gap.
Editing Tools
The Edit Toolbar allows selection between several different editing tools. Each tool also has an associated shortcut key, and can be changed via the Edit menu.
Object Tool ( see Region Editing )
The object tool appears as a “pointer finger” icon while hovering over regions. Just a few of the operations of the Object tool include:
- Click on a region to select it for editing, or drag a region to move it.
- Click inside the colored bar at the bottom of a region to trim the start or end points.
- Click on a region’s fade-in or fade-out handle to adjust the fade length
Range Tool
The Range tool allows the user to select and drag across a range of time. The time-range can span across multiple tracks and regions, as if the range were a contiguous piece of audio tape. Tracks that are selected in the current range are highlighted red in the edit window. You can add or remove tracks to the selection by clicking with the mouse.
- Drag across a range of time to create a contiguous selection.
- Grab the edges of the selection to lengthen or shorten each end of the selection.
- Right-click on the selection to launch a menu that allows looping, bouncing, exporting, consolidating, or analyzing the selection.
- Use the functions in the Edit menu to cut/copy/paste or otherwise manipulate the selection.
( see: Range Editing for more details about the Range tool)
Cut (scissor) Tool
The Cut tool allows you to split any region(s) under the cursor.
TimeFX Tool
The TimeFX (“stretch”) tool allows the user to stretch regions to be longer or shorter, without changing the region’s pitch.

To use the TimeFX tool, drag on a region to lengthen or shorten the region. This will launch a dialog:
- Strict Linear: Click this to force Mixbus to use a simple resampling method (not typically used with musical content).
- Contents: Choose an advanced resampling mode that best matches the sound of the region.
- Stretch/Shrink: Initiates the stretch operation.
Draw Tool
The Draw tool allows the user to draw midi notes and automation control points.
- Click inside a MIDI region to create a MIDI note event. Drag to set the length of the note
- Click on a region to create a new gain automation point. For more details, see “Region Gain and Automation”.
- Click on an automation track to create a new automation control point
Contents Tool
The Contents tool allows the user to edit the “internal” contents of a region. For example you can use this tool to select midi notes inside a region and move or delete them.
- Click and drag inside an audio region to select region gain control points
- Click and drag on a MIDI note to move it
- Click and drag inside a MIDI region to select one or more MIDI events
- Click and drag inside an automation track to select automation control points, and then move or delete them
“Smart” Editing
When Smart Mode is engaged, the “Object” Mouse mode takes on some of the features of the Range mode. The top-half of a track operates in range mode (allowing the user to drag-select a time range on one or multiple tracks). The bottom-half of the track operates like Object mode, allowing the user to grab a single region, or rubberband-select a group of regions. Other features of Object mode (such as trimming regions or adjusting fade lengths) are still possible in this mode. The cursor will change to show either Range or Object tools when the user transitions from the top of the track to the bottom of the track. “Smart” mode is only lighted when the Object (hand) tool is engaged, but the Smart setting is remembered at all times.
Selection conventions
Selected items ( Regions, Tracks, MIDI Notes, Plug-ins, or Automation Control Points) will be outlined in RED.
Selection categories ( tracks, plugins, regions) are mutually exclusive. In other words, you can only have Region(s) or Track(s) selected at one time. For example, if you have a Region selected, and you select a Track, then the Region will be de-selected.
A Range selection implies a single time range selection and one or more Track selections. Range and Track selections work together, they are not mutually-exclusive. You can’t have a Range selection without a track. A Range selection implies that one or more tracks are selected. However you CAN have one or more Tracks selected without a time range.
This convention makes it clearer, for example, what will be deleted when you click the “Delete” key.
Pressing the ESC (Escape) key will clear all selections.
Operation Priority
When an editing operation occurs, Mixbus must determine where the operation applies. This depends on many factors including the type of operation, the location of the Edit point, the existence of a selected Range, and Track Selections. Most of the time Mixbus will do exactly what you expect it to. If not, then it might be due to an unexpected operation priority. See the table below.
| Delete Functions: | Object (Region) Editing Functions: | Edit Point Functions: | Range Editing Functions: | Nudge Functions: |
|---|---|---|---|---|
| Example: Delete, Backspace | Example: Mute, Normalize, Reverse, Transpose | Examples: Split, Trim, Align | Examples: Separate, Crop, | Examples: Nudge |
Priority:
|
Priority:
|
Priority:
|
Priority:
|
Priority:
|
The Edit Point
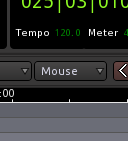
Functions on regions such as splitting, trimming, and pasting will happen at the currently defined edit point. The edit point can be the mouse cursor or the playhead. Mixbus allows you to choose between the two modes on the fly using the edit point button.
in the above image the Edit Point is set to “mouse”.
The settings for Edit Point are:
- Playhead : Mixbus will use the Playhead position to determine the location of an edit.
- Mouse : Mixbus will use the Mouse cursor position to determine the location of an edit.


Post your comment on this topic.