
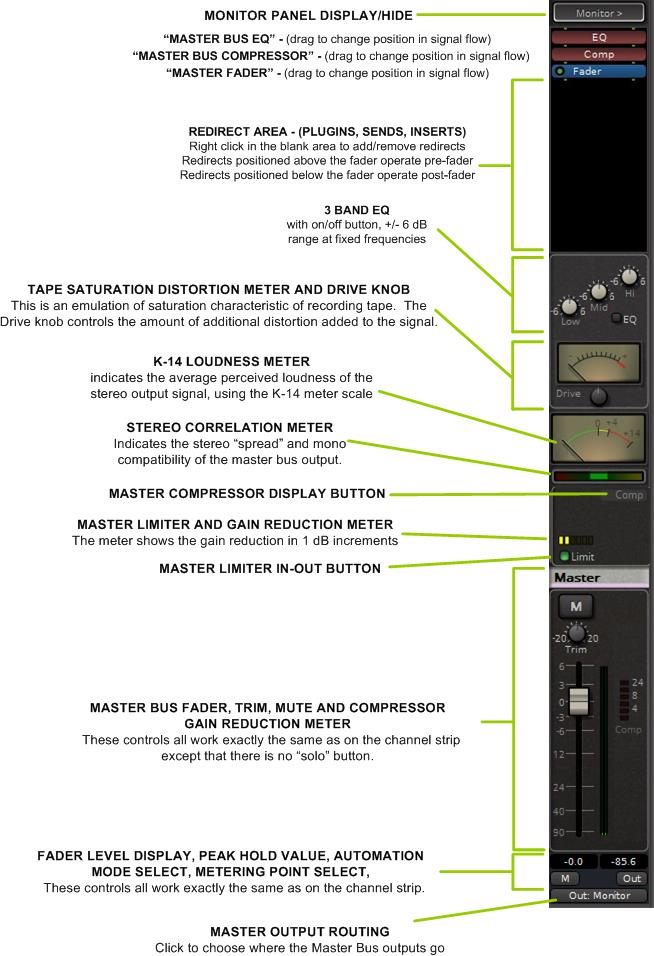
Mixbus provides a single Master channel. The Master channel provides the final output signal for listening via speakers or exporting to wav files.
The Master channel has a built-in transparent signal limiter (with look-ahead) to avoid the distortion that occurs in overly loud digital signals.
The various controls on the Master are very similar to those on a channel strip and all operate exactly the same way.
Master Bus EQ
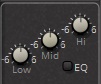
The Master Bus EQ provides very fine control of the final output tone. The band frequencies are carefully chosen to address the problem areas of a typical pop music mix: very low frequencies, mid-low frequencies, and “very high” frequencies ( leaving the primary mid-band relatively unchanged, as the reference ) The limited gain range ( +/- 6dB ) provides for very fine adjustments.
Specifications:
Gain Range +/- 6dB
Frequency Ranges (fixed):
- HI: 4000 Hz Q=1.0 Shelf
- LO/MID 300 Hz Q=0.7 Bell
- LO 90 Hz Q=1.0 Shelf
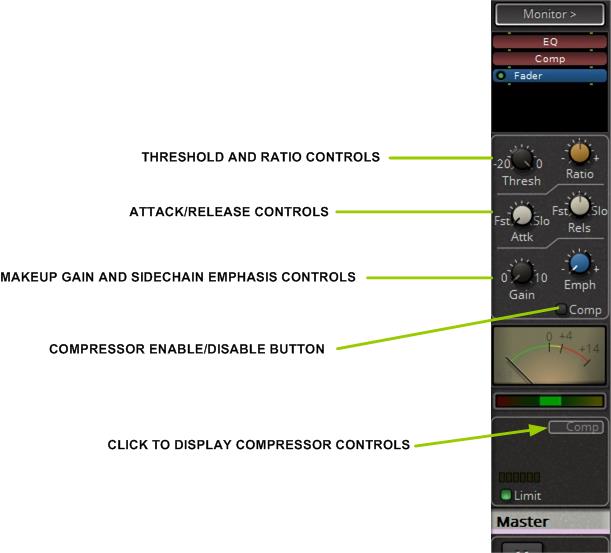
Master Bus Compressor
The Master bus compressor controls may be displayed by clicking on the “Comp” button. This compressor has the same controls and is the same as the compressors on the channel strips and mix buses, except without the Leveler and Limiter options, the latter function being covered by the separate Master Bus Limiter below.
The small “Comp” button engages the compressor as opposed to the larger one below by the Limiter which only controls display of the compressor section. Even if the compressor controls are hidden the compressor is active if engaged and its functioning is displayed on the gain reduction meter beside the fader.
Tape Saturation Distortion Meter and Drive knob
This is an emulation of saturation characteristic of recording tape. The Drive knob controls the amount of additional distortion added to the signal. The identical function is also available on every Mixbus strip.
This video demonstrates the use of this feature.
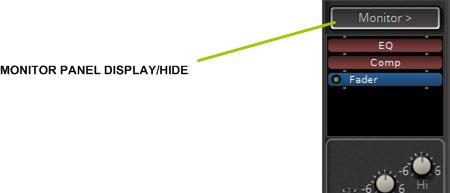
Monitor Panel Button
Optionally, a monitor section can be added between the Master Bus output and the physical audio interface (soundcard input, etc) so that monitoring can be controlled without affecting the actual Master Bus output.
- When the Monitor section is enabled (Session -> Monitor Section -> “Use Monitor Section”), the Monitor button at the top of the Master strip controls display/hide of the monitor strip.
This button is always present. If pressed when the monitor section is not enabled, a dialogue box will pop up asking if you want to enable the Monitor section.
See the details of the monitor panel and its functions here: Monitor Strip
Post your comment on this topic.
Patrick wrote: Mar 22, 2023
Master strip page is also showing v8 style details