
Mixbus on Windows uses the Windows standard installation process. Double-click the installer to launch the process, and follow the directions for a “Typical” installation. This will install Mixbus to the default location. As of v4.0, the Mixbus installer is not signed by Microsoft, so you may have to explicitly allow the installer to run. This is normal operation.
Virus Protection Software
If you have real-time virus shield software it might need to be disabled temporarily to allow Mixbus installation. Depending on which virus product you have, it may also put up notices saying the installer is suspicious and it wants to check for viruses. Don’t be alarmed, just allow the Mixbus installer to run and allow your virus software to do its thing.
In Windows 10 you also have Windows Defender protecting your system. When installing you will first get the following:

Click on “More Info”. You will then get this:
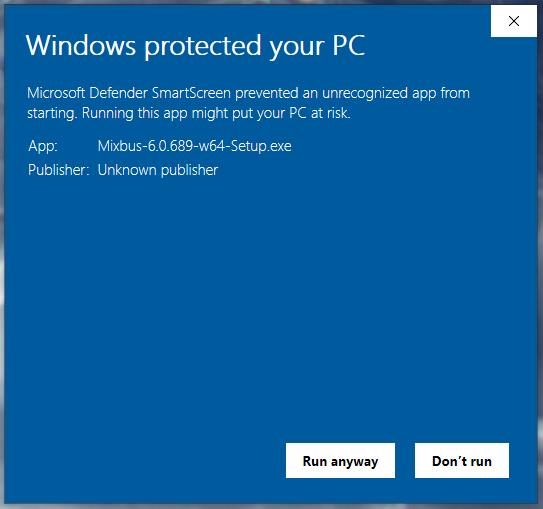
Click on “Run Anyway” to install Mixbus.
After the program installation, complete the installation process by installing your license files, see Install the Mixbus License file
A note about “Audio Setup” on Windows:
On Windows, Mixbus will detect sound cards with a MME, WASAPI, or ASIO driver. This means that you will likely see sound cards appear multiple times in the audio setup menus. If provided, the ASIO driver option is preferable for stable, low-latency operation.
Many built-in desktop sound devices will not provide an “Input device” if a microphone is not physically plugged in. If you plan to record with Mixbus, you must plug a device into the sound card’s input before you launch the audio engine. If you would like to use Mixbus without a capture device, choose “None” for the Input device. Mixbus does not provide a “None” option for the playback device.
When you select an ASIO device, the “Buffer size” setting will be automatically changed to the current preferred buffer size of your ASIO device (normally set in the device’s manufacturer-supplied control panel). It is important to use the device’s preferred buffer size. Otherwise you might incur a “buffer size adaptation” process which reduces efficiency and may affect latency (delay) through Mixbus.
Non-ASIO devices will default to a buffer size of 1024 for stable operation. Changing this setting is possible but is unlikely to have much effect on the performance because of the Windows sound infrastructure.
A note about VST plug-ins on Windows:
After the initial installation, Mixbus will not have any knowledge about your third-party VST plugins. You must add the path(s) to your VST plugins in the Edit->Preferences->Plug-in tab, and then initiate a “Scan”. For more information about plugins, click here.
Continue to Download and Install the License File
Uninstalling Mixbus
You can use the uninstaller provided in “ Start Menu -> Programs -> Mixbus”, OR you can uninstall the program from the Windows “Control Panel” menu.
Remember you can have multiple versions of Mixbus installed on your computer at the same time.
Post your comment on this topic.